Hey ladies, the word books, cascade albums, and flip books are very popular right now. They are fun and oh so easy to make. You can cut them using your cricut, your desktop cutters, and if you do not have either of them, you can hand cut them. The pattern I used for this book, came from a very talented gal
RachelB over on
UKSCRAPPERS. I used 2 of her border files to make this book...SO never fear you can still make these if you have a scissors.
SO the supplies needed is chipboard, (I used an old cereal box), a pattern, matching papers, embellishments, ribbons, stamps, adhesives, and any other items you like to use... I use glue sticks for this project, the reason being I like the stiffness it gave the ceral box, it stiffened it right up, just like a really thick piece of chip board.I cut the pieces all out of the cardstock of my choosing, glue them all down and then taking the X-acto knife trim up the edges. If you do not like the raw edges of the chipboard or in this case the cereal box, I used a matching ink to cover all exposed edges, and the edge of the papers giving it a distressed look. These 2 parts are the hardest and most time consuming, so hang in there....Once you have this step done, the fun part is next, embellishing the book. There are no rules, no limits and no restrictions. Be as creative as you like.. I like these books done up with tons of ribbons, lace, embellishments, and little doo-dads. Once you have 1 book completed stand back and admire your work..It was all worth it in the end. And they do become addictive. If you do not want to take the time to make these from scratch, you can purchase these from
BoBunny, I like there books as they come in many colors, and you do not need to mess with cutting papers and inking edges.

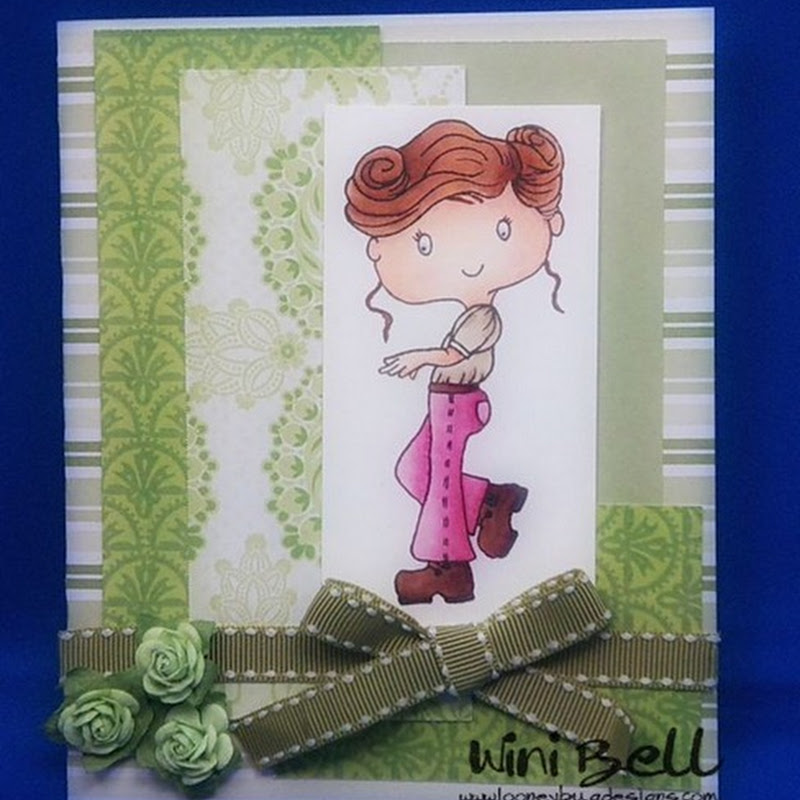
Ok, so there you have it, a unique album, for a special someone in your life...My Neices love it when i make these books for them...Here is the latest album created
So on the next cold snowy day, empty a box of cereal, grab your papers and glue stick, and have a little fun with these funky little albums..If you would like a pattern to cut and trace just email me and I will send it you, or you can come pick it up...Just remember to save the original copy so you can re-use it any time you like.. Or make your own borders using any shape that you like. It's that easy to do...Have a great day ladies..
Hugs,
Ronnie




.jpg)


 Posts
Posts