


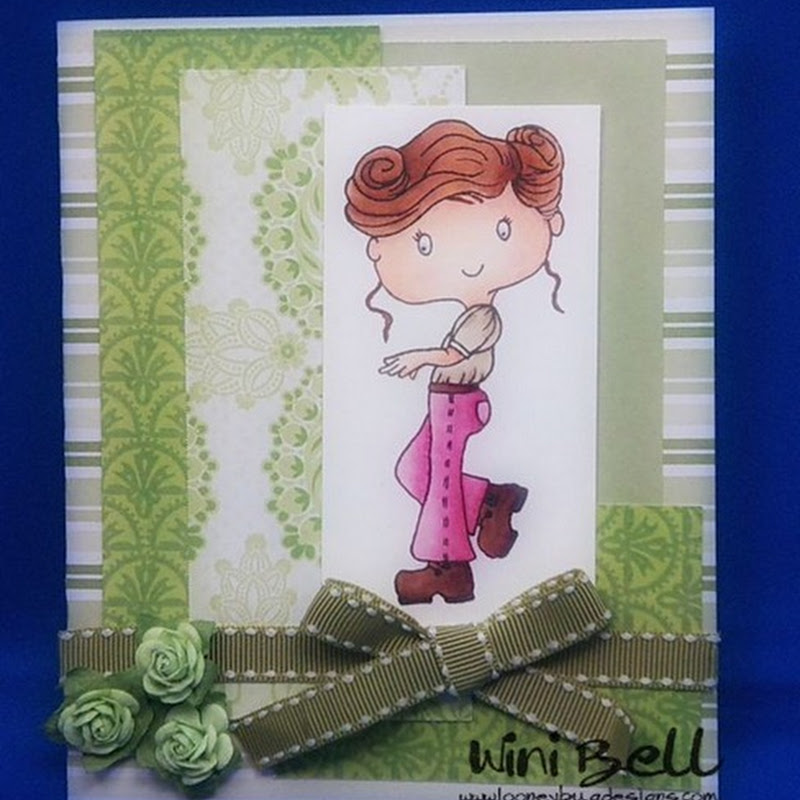
Watercoloring with Markers
by Julie Buhler
Create beautiful watercoloring with water based markers and an Aquapainter™.
Supplies

- Water based markers
- Aquapainter™ or watercolor brush
- Line art stamp
- Stazon™ or other waterproof ink
- Watercolor paper (140 lb cold press is best)
Step-by-Step
-
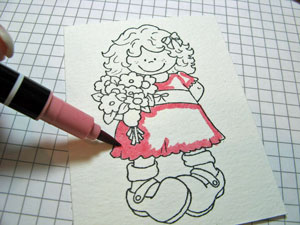
Step 1
Stamp image with Stazon on watercolor paper. We've found that on paper lighter than 140 lb, the colors to not blend properly.Start coloring with lightest colored marker first, leaving some lighter areas. It is easier to add more later than to try to take color away.
-
Step 2
Blend the ink with an Aquapainter. Make sure to leave some areas with less ink.
-
Step 3
Now add a darker color where shadows would naturally be. Pay close attention to lines, creases, and underneath things.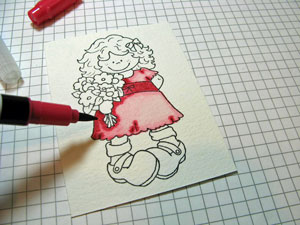
-
Step 4
Blend the two shades with the Aquapainter.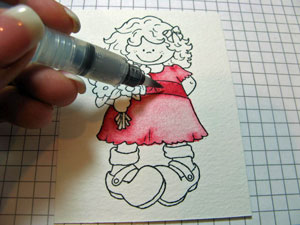
-
Step 5
Move on to another section of the stamped design and repeat Steps 1 - 4, making sure to put the darker color on the shadow lines.
-
Step 6
If during blending, you find there is too much color, it can be removed.
In this picture, the color under the Aquapainter is being removed.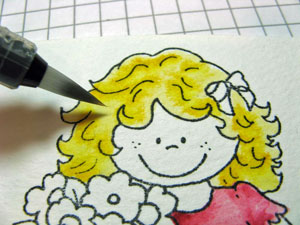
-
Step 7
After lifting color from the image, rub the excess off between your fingers or on a paper towel.This is also helpful when there is too much water built up in the bristles of the brush.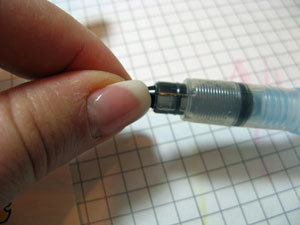
-
Step 8
Some areas were purposely left white for highlights and dimension. A white gel pen accents her cheeks to draw the eye and create more dimension.
-
Step 9
Embellish as desired.


No comments:
Post a Comment